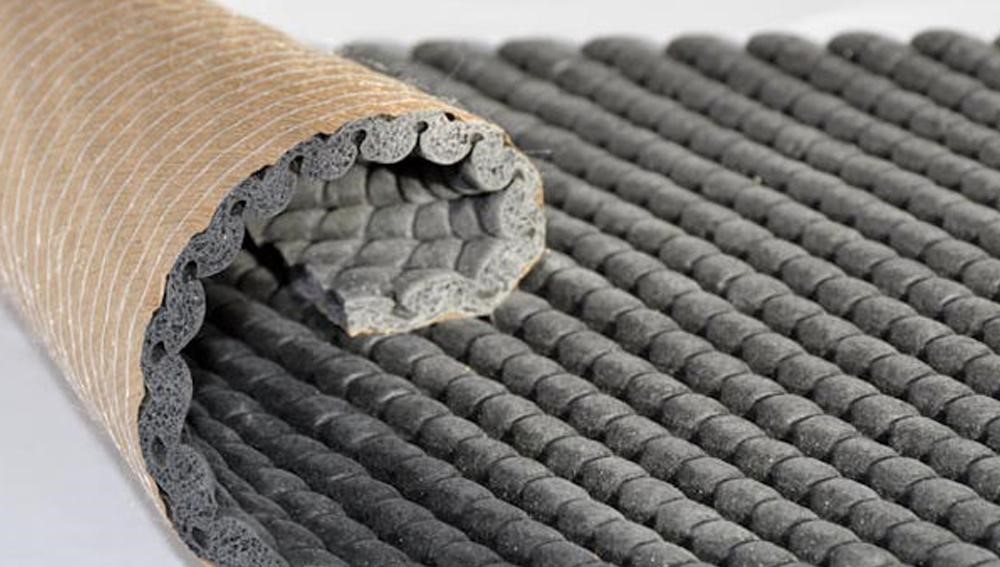
A Quick Guide To Fitting Underlay

Fitting carpet and underlay can be a very daunting task. We know that you’ve invested in the underlay to make the most of your new flooring, that’s why we would always recommend you use an accredited carpet fitter for the job. However, if you’d like to lay it yourself, we’ve put together a guide to help you out:
Useful Tools
- Safety Gears, i.e. Goggles, Sturdy Boots, Mask etc
- Hammer
- Underlay/Gaffer Tape
- Utility Knife
- Gripper Rods
- Spray Adhesive (for a concrete floor)
- Staple Gun (for a wooden floor)
- Gripper Shears or Hacksaw
- Measuring Tape
- A Spacer (a piece of wood/other material having 1cm of thickness)
- A Wall Detector
Carpet Uplift And Removal
Uplift and removal is a service many carpet fitters offer, but you can also easily do it yourself without too much effort. It not only includes moving all the furniture out of the way but also removing the old carpet and underlay.
Whether you fit carpet, underlay, vinyl, hardwood or any other flooring, the most important thing that any carpet/underlay fitter will tell you to ensure your floor is well-prepared before you start. So remember, your old carpet and underlay need to be ripped up, and nails and staples need to be removed before your new carpet goes down.
Removing Your Old Carpet
Start from the corner of your room and try to pull up the carpet. If it would not come up easily, then cut a small square of 6 inches by 6 inches in the corner with a sturdy utility knife. Now remove that little piece of carpet and pull it up on the larger section. Also, fold the carpet into the centre of the room to make the removal process easier.
As your carpet has been stretched held in place with gripper rods, these little annoyers will be along the perimeter of your room. So be cautious not to injure your hands or knees. You can also place your hands on the utility knife while cutting carpet so that you don’t cut or hurt your fingers.
To make this job even more manageable, think of the carpet as a piece of paper and fold it into thirds. Fold one-third of the carpet into the centre of the room then cut the fold with your utility knife.
If you want to keep your carpet for any reason, you can cut it away from the wall. But keep in mind that you will always lose a small amount of carpet from each side, as these areas have been stretched and held down by the gripper rods, which can slightly damage them.
Sweeping Up
Make sure the floor is clear, and there are no staples, nails and tacks that could be leftover. Sweep or hoover the whole area to get a nice finish and get rid of grit, dust or anything lying on the surface that could cause lumps and bumps.
Keep Your Floor Dry
Depending on what type of floor you have, this may be a long process, so do always ensure your floor is dry and free of damp before your fitter arrives.
To protect your underlay and flooring from moisture, all types of floors (mainly wooden and laminate flooring) should always have a damp proof membrane installed before any flooring beneath. So you should always look into these options if you think you will need them.
Before The Underlay
Lining Paper And Damp Sheets
If you are using a separate lining paper or damp-proof sheet on your subfloor to improve insulation and prevent dust rising, lay this out first. For the fitting, damp sheets and lining paper both usually come with their own instructions. But they are typically stapled or taped down with a heavy staple gun. Some of them may require a spray adhesive, so it is always worth looking into the product before purchasing.
Gripper Rods
You must already have gripper rods around the edges of your floor. If they still look sturdy and are fitted correctly, then leave them in place. But if they are not good enough to go with your new carpeting, get new rods. Gripper rods aren’t expensive or difficult to fit, so it is worth it.
The rods themselves are usually 1.5 meters long, but you can also cut them down with a hacksaw or special shears. Precisely take careful measurements of the perimeter of your room to find out how much you will need.
Now about 10mm (1cm) away, position the rods parallel to the skirting. The best way to make sure this measurement is accurate is to use a spacer (a piece of wood). Set it between the wall and the rods, and you won’t go wrong.
However, the only place which will not require gripper rods is doorways. Here you will most likely put a door bar (aka door trimmer and threshold strip) to join the carpet, so leave them free.
Underlay Installation
Roll out your underlay and trim it with your utility knife so that it is level with (but not overlapping) the gripper rods. Unlike carpet, you can cut the underlay freely into smaller pieces to fit in awkward areas. However, to have fewer joins make sure the pieces are as large as possible.
Also, don’t forget to leave a little extra allowance in any doorways just enough for your door bar to grip along with the carpet. Tape your pieces of underlay together with strong tape. When all the joins are covered, you can set the underlay in place.
